
In full-size aircraft, autopilots can reduce the pilot’s workload so that he or she is able to safely perform other tasks. Similarly, when you’re flying a multirotor, the on-board flight controller performs tasks that can assist with the flight. A flight controller may be as basic as a stabilizer for manual flying or a complex system that can be programmed to fly GPS waypoints at specific altitudes. Many flight controllers have a “Failsafe” mode that can be activated to “return to home” in case a problem is encountered during flight.
Flight controllers have a variety of modes and can be classified into three main categories. The first includes modes that maintain position vertically and laterally, such as altitude hold and GPS hold. The second category includes modes that control orientation of the multirotor with respect to pilot position. The third category includes failsafe modes.
Because many manufacturers use trade names for their flight modes, this article will classify each mode with a generic name to give you a clear understanding. You should have a thorough knowledge of each flight mode on your specific flight controller. Equally as important, the flight modes that are assigned to switches on the transmitter must be properly labeled. As always, a preflight checklist is recommended to ensure that all modes are in the desired position prior to flight.
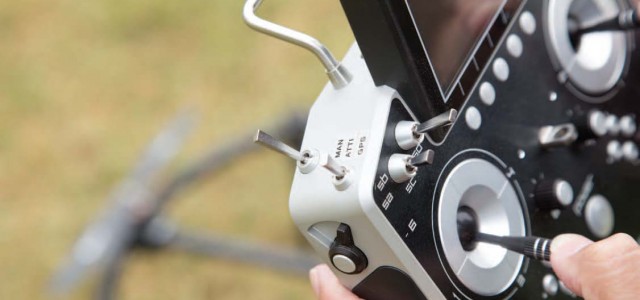
It is good practice to always
label the switches you assigned your flight modes to (see top left of the transmitter).
MANUAL MODE
This is primarily used when you want maximum control for maneuvering. This is the mode preferred by aerobatic pilots and First-Person View racers. Some basic flight controllers only operate in this mode. If the aircraft is pitched forward in this mode, it will move forward. With the stick is centered, the attitude is stabilized and the aircraft will return to level, although it will continue to drift a little. Throttle control is also manual, and what input on the transmitter will be translated directly to the throttle output (the stick response will be rather quick).
- Skilled operators who fly obstacle courses or pylon racing use manual mode for the quick response.
- Novice operators should never use manual mode because the multirotor will require a lot of skill and experience to control and the response will be quick.
- Aerial cinematographers may use manual mode if they are filming a moving object and need to rapidly vary the position of the multi-rotor during the flight.

Altitude Hold is a perfect mode when you are following a subject that is moving, such as this mountain biker.
ALTITUDE HOLD
Most advanced flight controllers have barometric sensors that enable them to detect subtle changes in atmospheric pressure. Selecting this mode helps the aircraft maintain the desired altitude, but there may be some fluctuations during windy and gusty conditions. As a result, the aircraft will drift a little in the direction of the wind, but it will maintain the altitude. Increasing or decreasing the throttle stick may still perform changes in altitude. When the stick is returned to center, however, the multirotor will hold the desired altitude.
- Altitude Hold is used when smooth lateral movements are required during aerial filming and you need to hold a certain altitude.
- This mode may also benefit infrastructure inspections (i.e. underneath bridges) when a GPS signal is unavailable.
- A transmitter that has been modified with a self-centering throttle stick will allow this mode to be engaged without needing to visually confirm the stick position. This is great for new pilots who are not adept at adjusting the throttle stick to center after each altitude change.
For aerial still photography, GPS Position Hold will maintain the multirotor’s position so you can wait for that perfect shot.
GPS POSITION HOLD
This mode maintains the multirotor’s position both laterally and vertically and is ideal for learning to operate the craft. This mode is very forgiving because it allows you to maneuver the aircraft, but when the sticks are released the new position is maintained. For this mode to function properly, it is imperative that the GPS receiver acquired the requisite number of satellites before takeoff. Because of this, GPS mode will usually require a start up sequence that can take longer than that of other modes.
- GPS Position Hold, which also may be called Loiter Mode, is ideal for beginners.
- Aerial still photography is often accomplished in GPS Position Hold so the multirotor can maintain its position during the flight.
- Operators doing inspections of rooftops, towers, and smokestacks use this mode almost all the time.
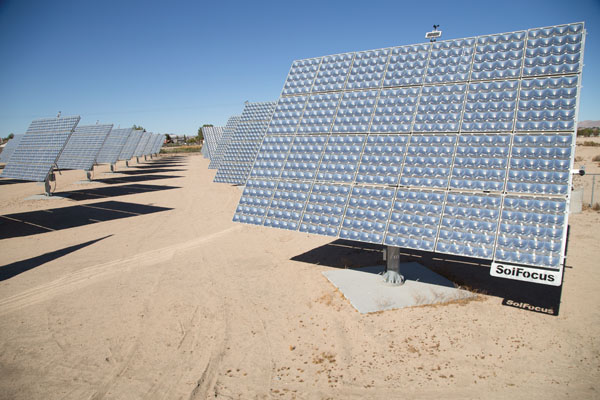
Waypoint programming is the perfect mode for photo surveying large areas, such as this solar-panel array.
AUTO OR WAYPOINT PROGRAMMING
Some refer to waypoint navigation as an “autonomous” flight mode because the operator does not give control inputs during flight. Instead, GPS waypoints and altitudes are programmed into the flight controller prior to the flight. This can be done with the use of a laptop or tablet. Once the waypoints are programed in, they are then transmitted to the flight controller by cable or wireless. This flight mode is used whenever a specific flight path is desired. The operator still must maintain visual line-of-sight with the multirotor in Auto Mode in case a GPS signal is lost or the aircraft has in-flight problems. If something happens, you can flip a switch on the transmitter and regain control of the autonomous aircraft.
- Auto Mode is used during mapping and surveying because a grid flight path can be programmed so the camera or sensor covers all of the desired area.
- Search and Rescue operations may also use Auto Mode if the mission requires an area to be completely covered during the flight. It is very easy to program in a search grid for the aircraft to follow.
- Aerial cinematographers may sometimes use auto mode if there is a need to make repetitive flights over the same flight path.
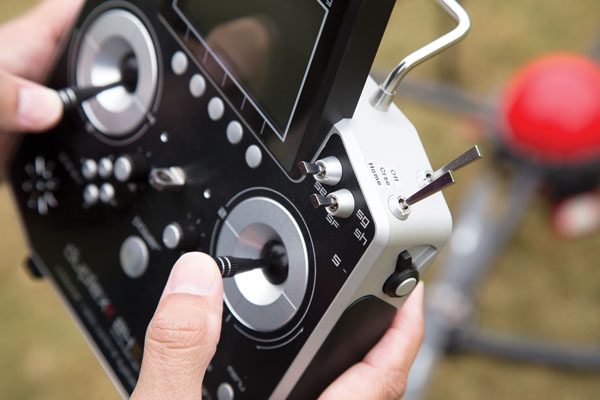
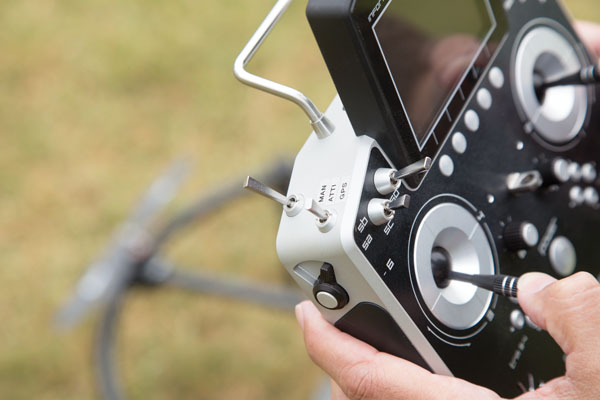
Orientation modes should also be labeled well on the 3-channel switch.
NORMAL ORIENTATION MODE
In this mode, you need to be aware of the front of the multirotor at all times because as it is pitched forward and aft, it will move in that linear direction. For example, if the front of the multirotor is rotated a full 180 degrees toward you, pulling back on the stick (aft elevator) will move the aircraft away as the control inputs will be reversed.
- Normal Mode should only be used when you can maintain visual orientation of the multirotor. Radio-control helicopter pilots will find this mode to be very comfortable.
- LED lighting or colored markings may help you to identify the front of the aircraft.
- Large multirotors with bright LEDS and distinct markings will help you to maintain orientation at greater distances.
FREE ORIENTATION MODE
In the Free Mode, the orientation of the multirotor has no relation to the position of the pilot. In this mode, the multirotor will return to the home point when the elevator stick is pulled aft. This mode is beneficial for the new pilots because the front of the aircraft does not need to be determined during the flight.
- Free Mode is great for beginners because you can concentrate on learning how to do maneuvers and then easily bring the aircraft back to home.
- If you lose orientation while in the Normal Mode, select Free Mode to safely bring the multirotor home.
- Free Mode will only operate properly if the home point was properly obtained prior to takeoff. This requires a GPS start-up sequence.
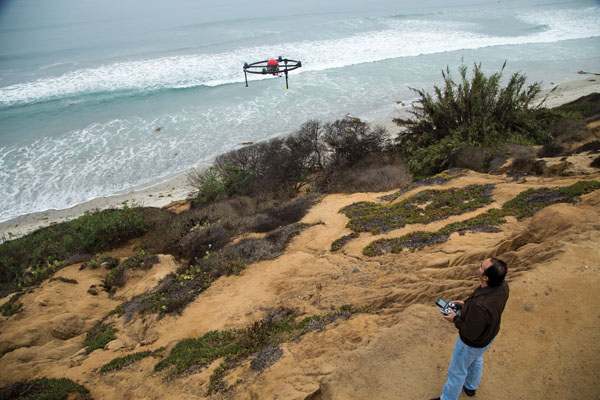
If you lose orientation, then the switch return-to-home failsafe can be a lifesaver, especially as in this case over water.
SWITCHED RETURN-TO-HOME FAILSAFE
Flight controllers with GPS have several advanced safety features that can be of great benefit under certain conditions. If the multirotor is flown beyond a safe distance or orientation is lost, you can initiate a return-to-home and auto land the aircraft back at its point of departure. Assigning a switch on the transmitter that initiates a return-to-home (and/or land) is a highly recommended safety feature for all multirotor operators.
- The Failsafe Mode should only be engaged if necessary, because obstacles and other situations could make it a risky operation. Know how the failsafe mode works and the prescribed flight path back to home.
- If the multirotor does not properly return to home, you can switch out of this mode and take control of the aircraft and fly the multirotor back home.
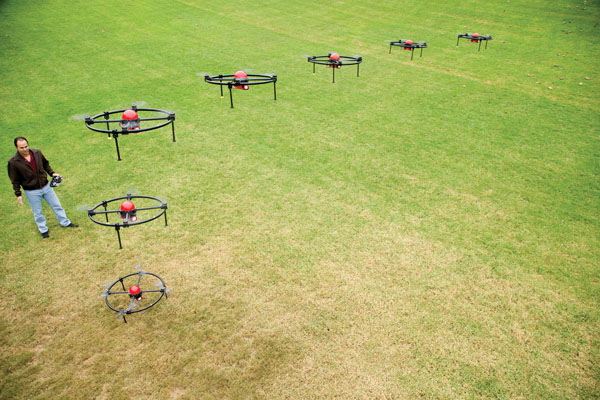
The return-to-home failsafe will automatically land your multirotor if it loses contact with the transmitter or has a low battery.
AUTO RETURN-TO-HOME FAILSAFE
These same flight controllers can be programmed to return to home if certain hazardous conditions are encountered. For example, if the radio link is lost or the transmitter loses power, the flight controller automatically enters the return to home mode. Other conditions, such as low voltage, can also be programmed to initiate this remarkable safety feature. It is important to know that failsafe modes will only function properly if an adequate GPS signal is obtained prior to takeoff.
- If your multirotor enters this mode automatically, there is a serious issue that needs to be resolved!
- A thorough inspection of the aircraft will need to be performed after the flight to determine the reason why this mode was activated.
THE TAKEAWAY
As you can see, using the flight modes available on your controller can greatly assist you in safely piloting your multirotor. This article overview should help you to determine which modes are best suited to your flight missions, and be sure to take the time to read your controller’s flight manual so that you program it correctly. By using the technology available, you’ll enjoy worry-free flying while protecting your multirotor investment.
By Gus Calderon | photos by John Reid